> For the complete documentation index, see [llms.txt](https://docs.glitchd.network/llms.txt). Markdown versions of documentation pages are available by appending `.md` to page URLs; this page is available as [Markdown](https://docs.glitchd.network/glitchd-products/rollup-deployment/rollup-toolkit/bridge.md).
# Bridge
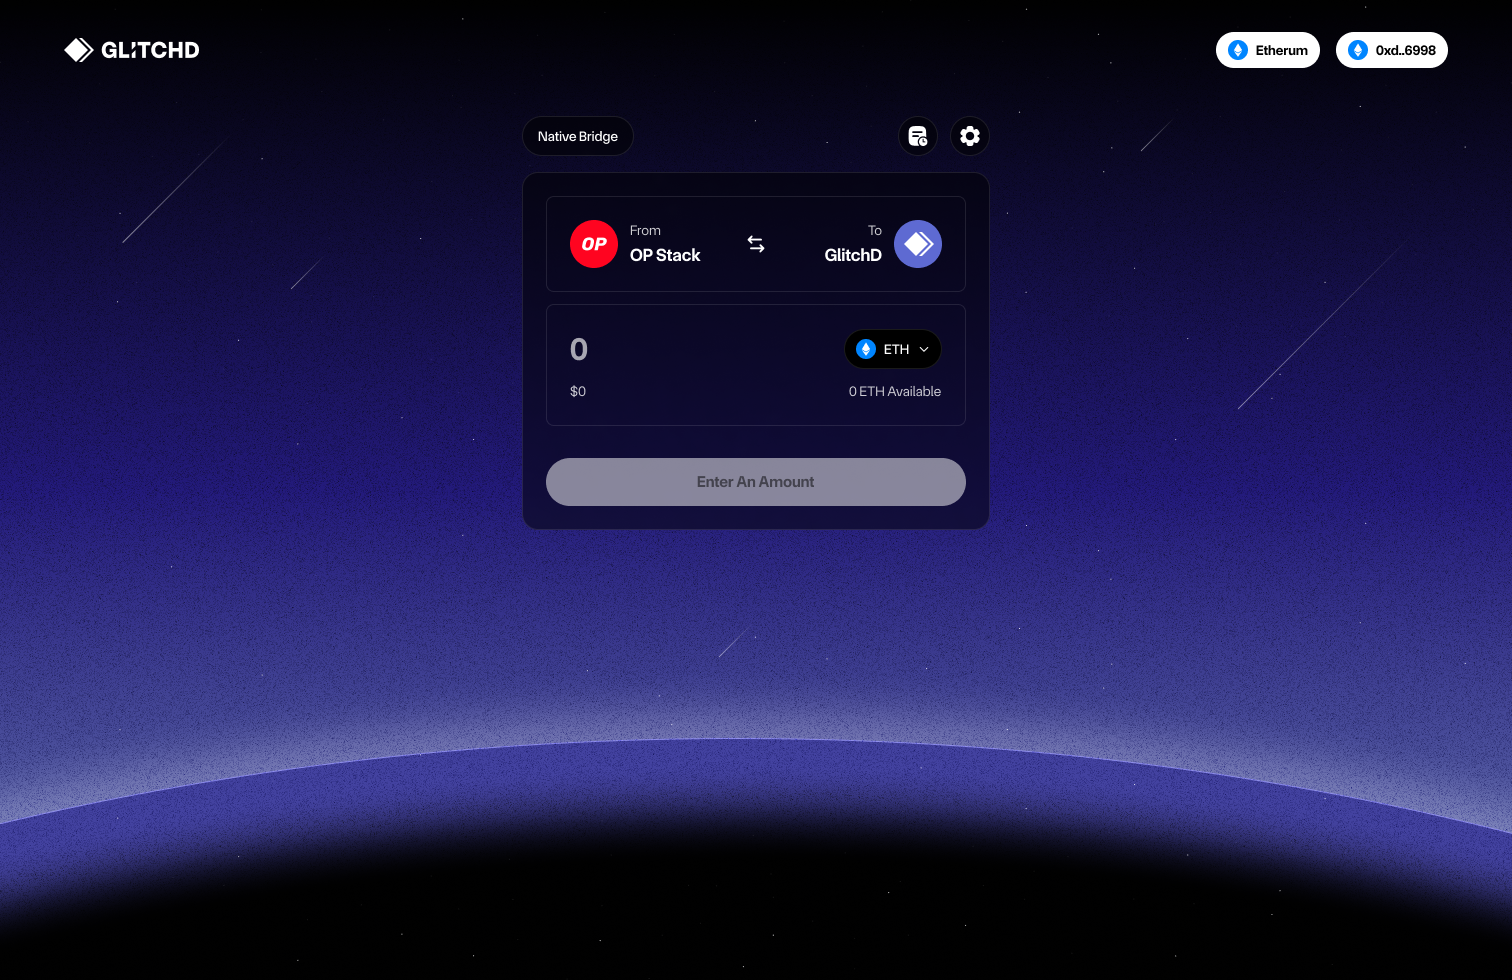
### What is the Bridge Interface
The Bridge Interface enables users to transfer assets between different blockchain networks and your rollup. This functionality is vital for bringing liquidity into your ecosystem and allowing users to interact with your rollup using assets from other networks.
### How to Use the Bridge Interface
1. **Access the Bridge**
* From your rollup’s dashboard or Public Page, click on the **Bridge** link.
2. **Connect Your Wallet**
* Ensure your wallet is connected to the source network (e.g., Ethereum) or your rollup network.
* You may need to add your rollup network to your wallet if you haven’t already.
3. **Select Networks**
* In the Bridge interface, choose the Source Network (e.g., Ethereum) and the Destination Network (your rollup), or vise versa.
4. **Choose Assets to Transfer**
* Select the amount of tokens you wish to bridge.
* Review any associated fees and time for transfer.
5. **Initiate the Transfer**
* Click on the Transfer button.
* Confirm the transaction details.
6. **Confirm the Transaction**
* Approve the transaction in your wallet when prompted.
* Wait for the transaction to be processed on the source network.
7. **Await Completion**
* The bridging process may take some time, depending on network conditions.
* Once completed, the assets will appear in your wallet on the rollup network.
**Notes**
* **Transaction Fees:** Be aware of gas fees both on the source and destination networks when initiating a transfer.
* **Supported Tokens:** Only specific tokens may be supported for bridging. Check the list of supported assets beforehand.
* **Security:** Always ensure you are using the official Bridge Interface to avoid phishing attempts.